Showing posts with label DIY. Show all posts

Saturday, June 15, 2013

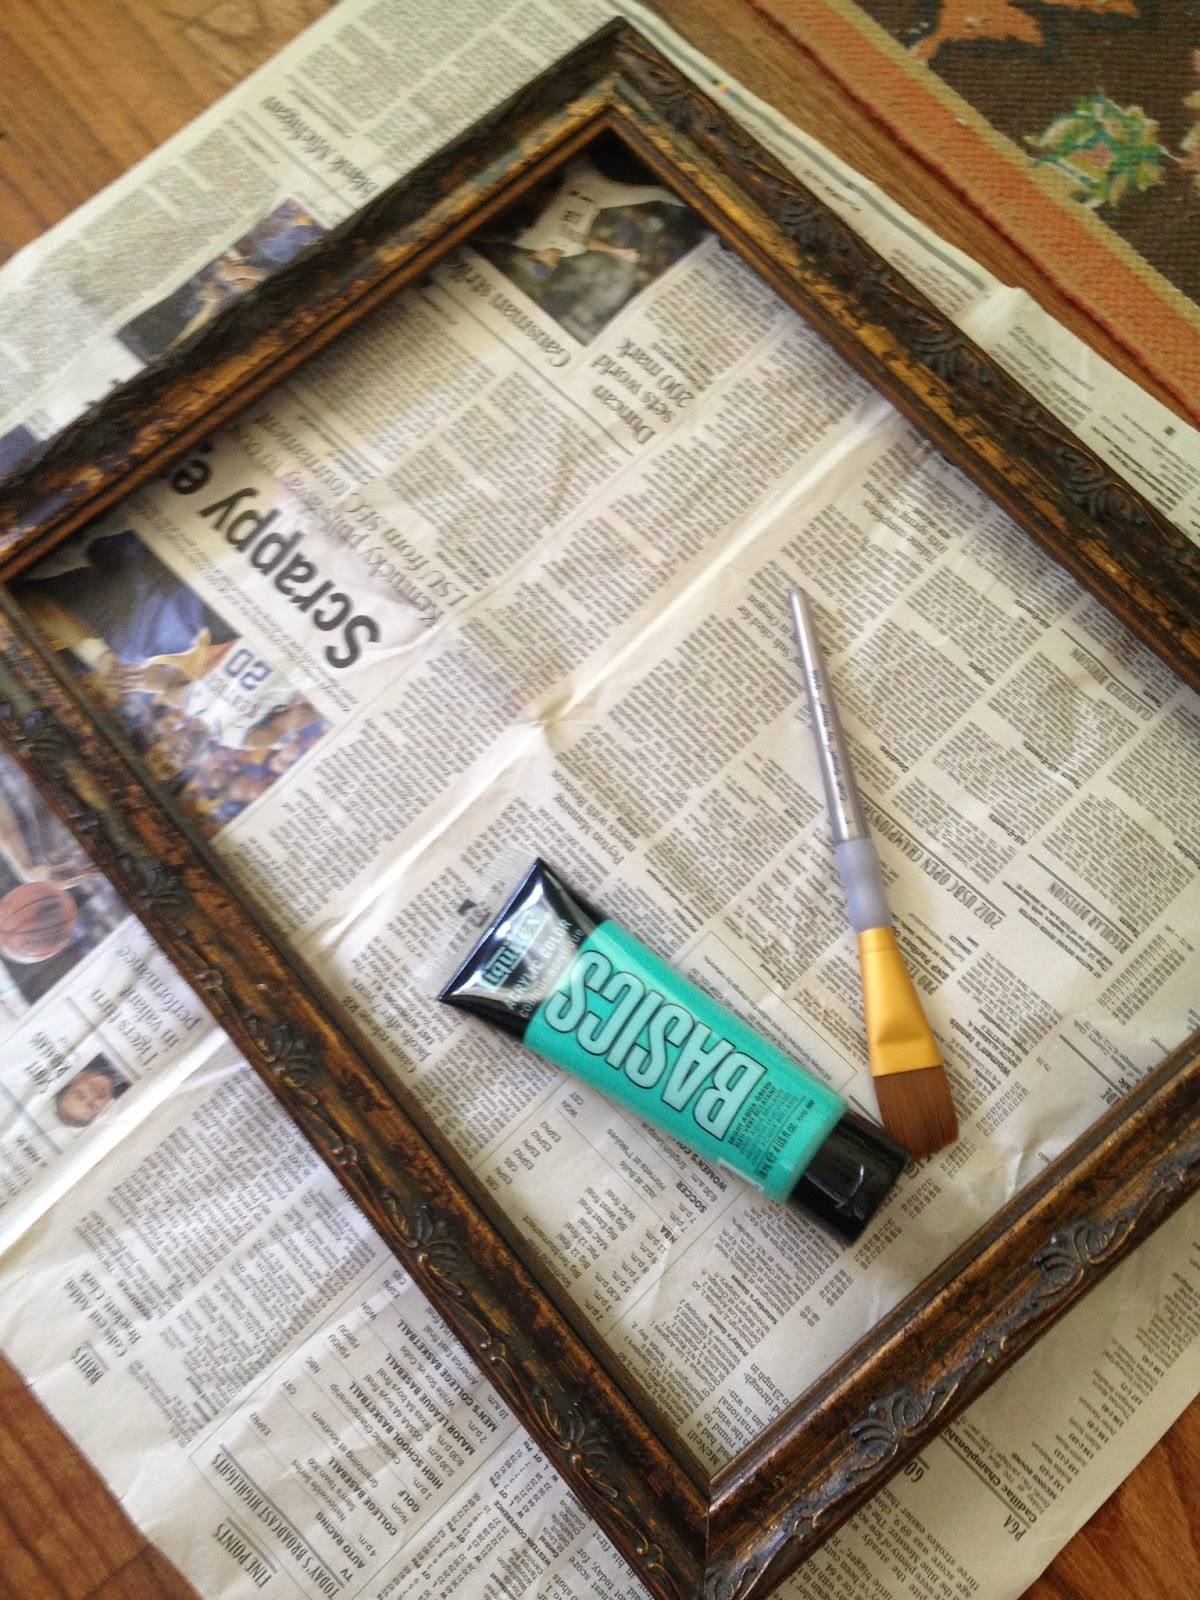
DIY Painted Frame

What you'll need:
Frame
acrylic paint
paint brush


Step 1: Remove picture and glass from frame and place on new paper or something you don't mind getting paint on.

Step 2 : Paint the frame. Simple as that.  I left some of the crevices unpainted because I like the way it looks.  Its an easy way to change the appearance of a picture and add color to your wall or picture collage.  Get creative, use bright colors, metallic colors, patterns, or multiple colors.


Thursday, June 13, 2013

DIY Light Cover Succulent Terrarium


What you'll need:
Old Light Cover ($3 from Habitat Restore)
planter tray ($2 50% from Hobby Lobby)
Succulents (I used my succulent overgrowth)
Succulent potting soil


This is my first time trying to replant succulents so don't take my word for it, yet! I'm trying to grow my green thumb so we shall see if they survive.  As for now, it surely looks pretty don't you think?


Tuesday, March 19, 2013

DIY: Geode Wine Stopper & Etsy store!


What you'll need:
-geode w/ a relatively flat side
-cork (mine is actually from an old wine stopper that broke but they do have them at hobby lobby)
-epoxy - E-6000 works the best! I've had so many handmade wine stoppers break on me that I didn't think it was possible to find a glue that would work for this, but this one does the trick! (or at least so far!)
-Liquid gold leaf
-small paint brush

Step 1: epoxy the flattest surface of the geode to the cork.  Let dry for about 30 minutes.  Make sure to continue to apply pressure so that the epoxy will form a good bond.

Step 2: Paint the top portion of the cork and bottom portion of the geode with liquid gold leaf and paint brush.  Doesn't have to be perfect. I think the more jagged the line the more natural it looks. (This step obviously isn't required but I like the way it looks. It makes the cork to geode transition more uniform and hides the epoxy)

Step 3: Allow at least 24 hours before attempting to use the cork in a bottle.  It'll be dry way before but will probably come apart once you try to pull on it. Cheers!


Side Note:  I am in the works of opening an etsy store!  So if you'd rather just buy some of my handmade goods I would love to make them for you! Here's my etsy page http://www.etsy.com/people/ellieberard or you can search for my shop "shopellion".   


Tuesday, February 26, 2013

DIY: Framed Geodes


What you'll need:
-flat geodes (actually got these at the science museum in Dallas $1.99 each)
-Epoxy - this E-6000 epoxy is amazing! best glue I've ever used and works on basically anything (Found at Target or Hobby Lobby)
-Thick poster board (not the foam kind, I think this one is 3/16" thick)
-Shadow box(es)
-Scissors or exacto knife (exacto knife works way better on this thick poster board and you'll have straighter edges)
-pencil


Step 1: Trace the board from the shadow box on thick poster board with pencil and then cut out with exacto knife.
Step 2: Decide where you want to place your geodes, put epoxy on the back side, and place onto poster board.
Step 3:  DON'T hang immediately.  Lay on flat surface for a few hours until epoxy is completely dry.  I actually let mine dry over night just to be safe.

Almost forgot to throw this picture in there...
Yep. Got busted sitting on the floor in the Perot museum gift shop trying to pick out which geodes I wanted.  Kids in there get serious. I had to claim my spot in front of the treasure bins!

Monday, July 16, 2012

home sweet home

My house :)
As promised... here are some pictures of my house thus far! Enjoy!

Benzara metal bar stools via Amazon, World Market Jackson kitchen cart (HERE)
Turkish Kilim via eBay
Anthropologie measuring cups and spoons (gift from my aunt & uncle)
hobby lobby step stool
hobby lobby spice jars

pottery barn wine glass rack (HERE)
spice rack from HERE, mail rack from TJ Max
DIY painted chair
Tray - gift from my friend Kaye :), DIY spray painted antler, Owls from ROSS, Bath and body works candles
Urban Outfitters rug, Z Gallerie Stella Sofa, Green chair thrifted for 24 bucks!, Joss and Main isabella ottoman in white
thrifted chair
antiques
world market table, chairs, cushion, and cafe lights
old mirror from my mom
antique door knobs, diptyque baies scented oval via eBay
antique chandelier from an antique auction
from left to right- thrifted box, anthropologie ikat bowl, vintage crystal dish
DIY necklace hanger from way back when HERE, and hook from world market

Monday, November 7, 2011

DIY: Hex Nut Bracelet


Black Waxed Cotton 0.5 mm (I bought mine from firemountaingems.com HERE they have many options and colors)

Brass Hex Nuts from Lowe's


I'm sure everyone and their mom has seen these already but I thought I'd share my version. 

I made the bracelet with square knots and an adjustable square knot closure.  (There are a bunch of square knot & adjustable square knot tutorials on YouTube, I don't have a favorite picked out)   Once I got close to the middle I added a hex nut to each side and then tied a square knot to keep them in place.  I tied 2 square knots in between each pair of hex nuts.  If you decide to add an adjustable closure be sure to have some super glue on hand to secure the final knot. Also, make sure to leave a few inches of excess string on each end to be able to make the closure.  The more you leave the easier it'll be to work with & any additional can be cut off once you're done.  

Hopefully this was helpful!  If you have any questions leave me a comment with your email address and I'll be happy to answer!

Thursday, October 27, 2011

Just in time for Halloween

My DIY Owl Mask

Thought I'd share with you a few of my halloween preparations.  Hope you have a spooktacular weekend!


Dirt Cake (I used this recipe HERE)- taken with my new iphone 4s, pretty impressive quality, right?


Thursday, October 6, 2011

DIY: Suede Purse Tassels


So excited to share this DIY! It's really easy to do and I think it makes a great statement for a bag.  This is my own twist to the tassel DIY from P.S. I made this seen HERE.  Enjoy your weekend!

Supplies:
-Suede (Hobby Lobby)
-Fabric Glue (Hobby Lobby)
-Brass Hook (Lowe's)
-Scissors
-Sharpie/pen

Step 1: Cut out your two pieces and an additional long skinny piece that will be used to connect the two.  Mark your strips with a sharpie/pen and cut the tassels.


Step 2: Roll and Glue the cut pieces as shown.

Step 3: Tie the tassels to a brass hook.
Step 4: Attach to your favorite bag!